REVEREND SPOOKY

  • Home
  • Rise of the Radio Kings
    • Characters >
      • Saint Crow
      • Marrow
      • Kit and Garage Workshop
      • Wren
    • Stories & Scenes >
      • Chapter 1 - The Lighthouse
      • Kings' Currency
      • Wasteland Record Player
      • Wasteland Bike Chase
      • New Gasmask Part 1
      • New Gas Mask Part 2
      • Scavenging
  • House of Seasons
    • Characters >
      • Alice of Autumn
      • Isblomma of Winter
      • Thornapple Maudsley
      • Delia Rhildreth
      • Koda
      • Corbin Lenkov
      • Krysa
    • Stories and Scenes >
      • The Haunting of Brightwood Asylum Part 1
      • The Haunting of Brightwood Asylum Part 2
      • The Haunting of Brightwood Asylum Part 3
      • Arcade
      • Ghosts on the Radio
      • Lazy Sunday
      • God Jol!
      • Violent Resolutions
      • Last Days of Summer
      • Movie Night
  • Other Photoshoots
    • Colossus the Painter
  • About Reverend Spooky
  • News

Custom action figure and other projects

Apocalypse Girl

8/25/2016

0 Comments

 
Picture
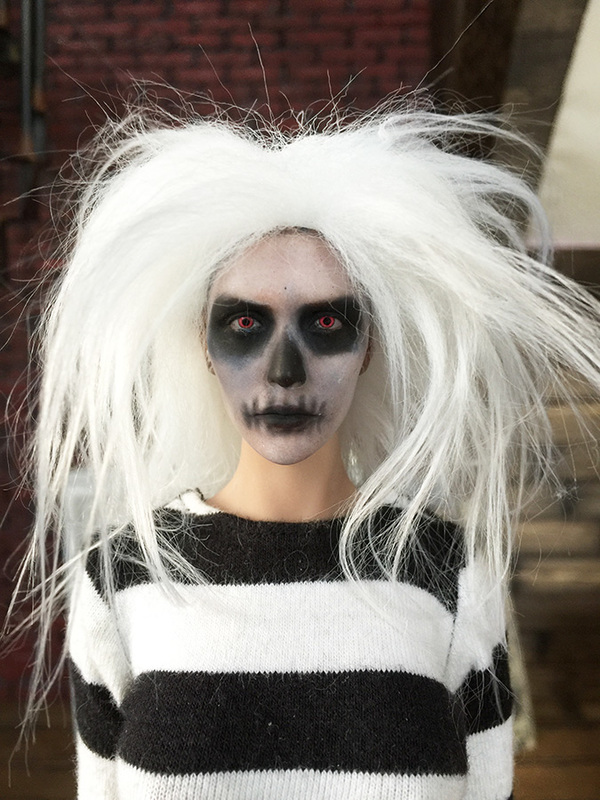
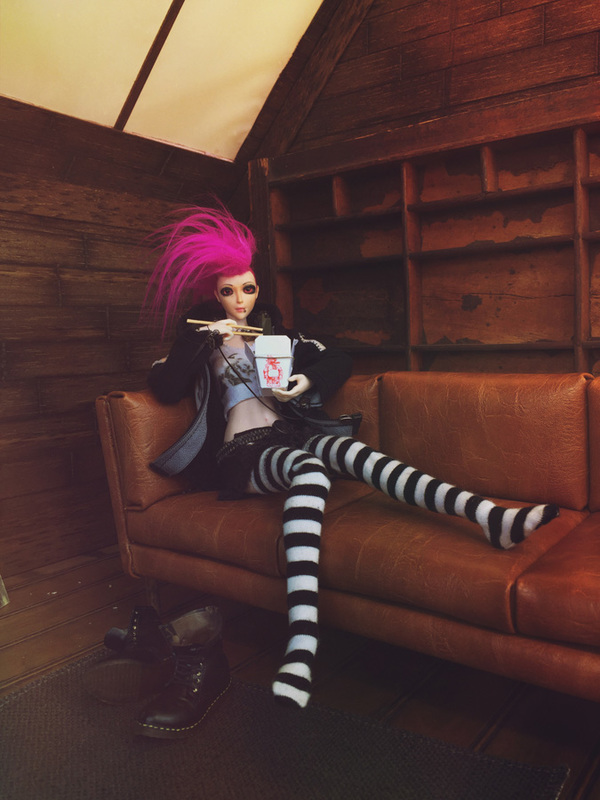
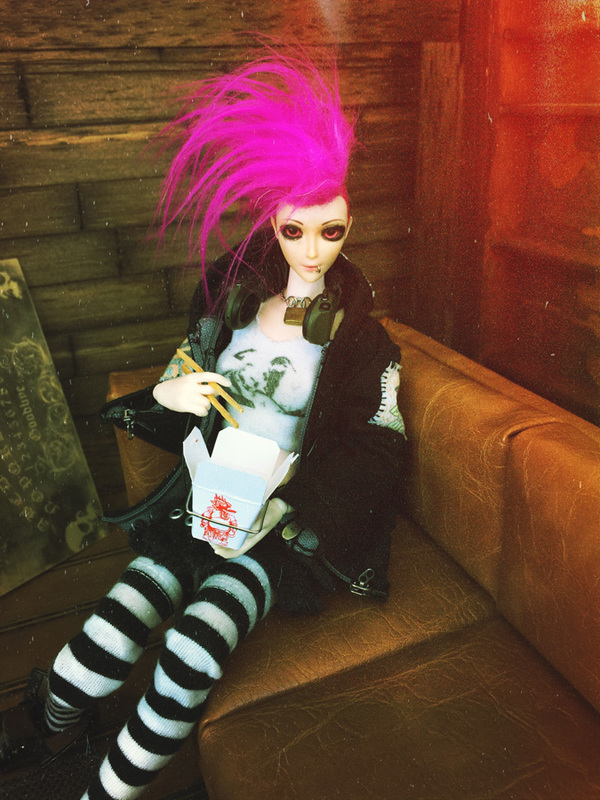
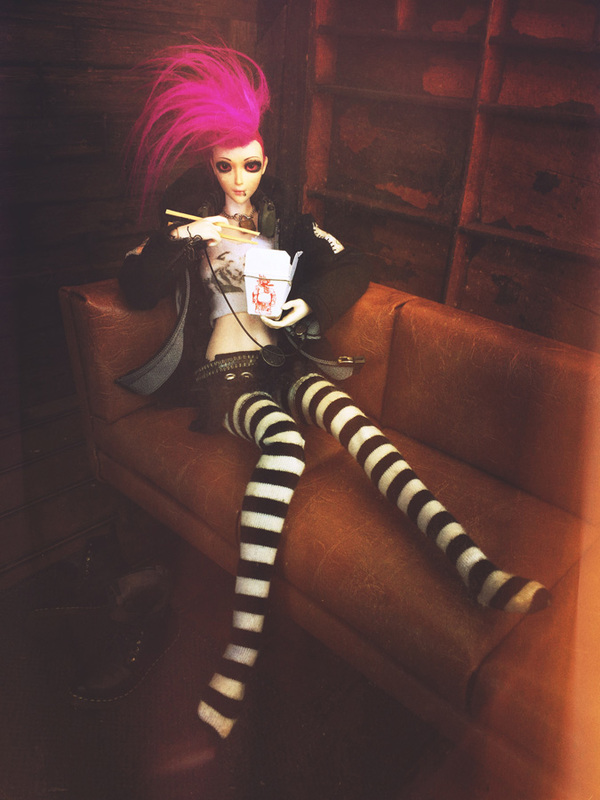
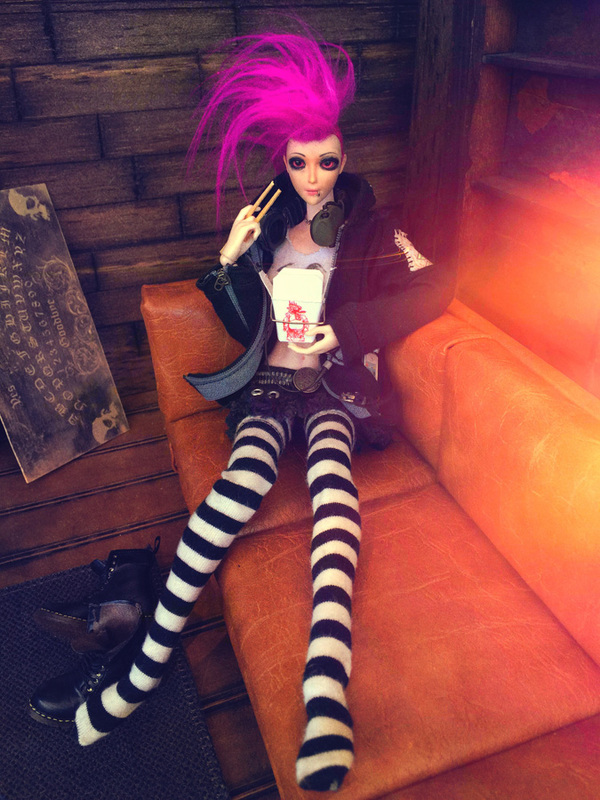
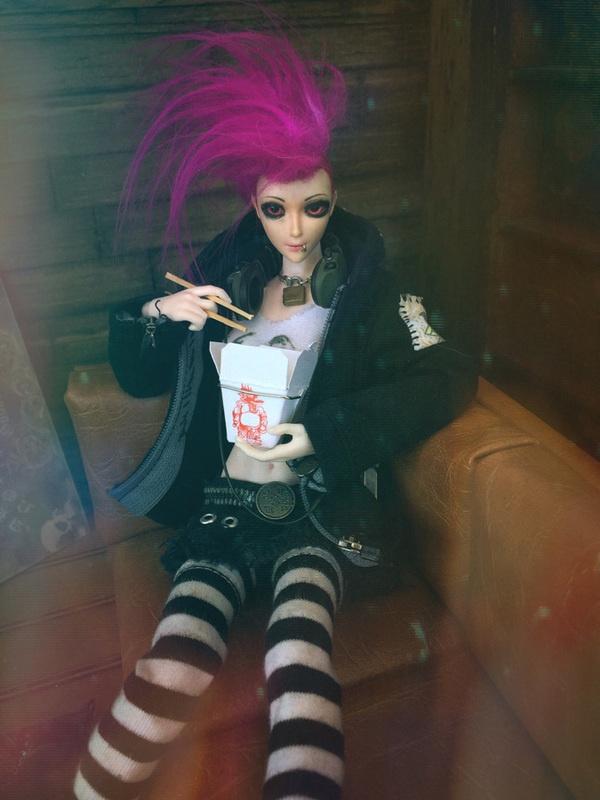
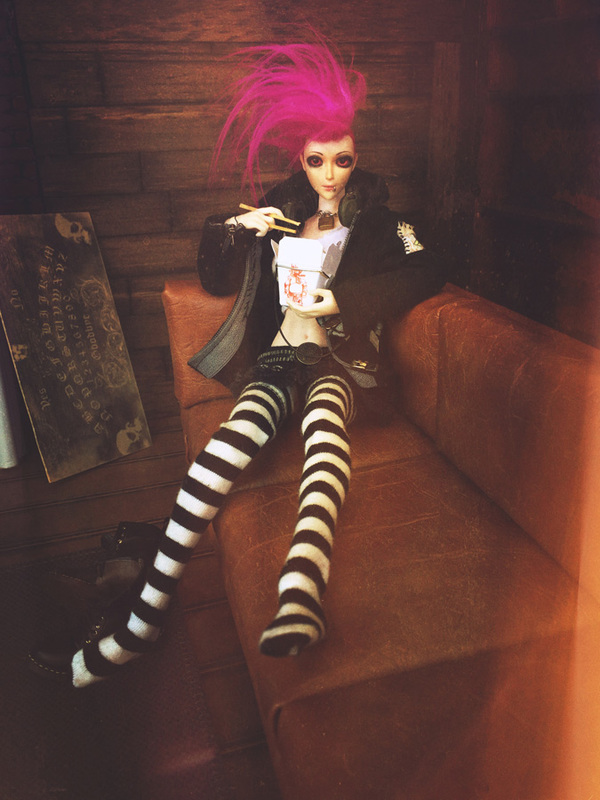
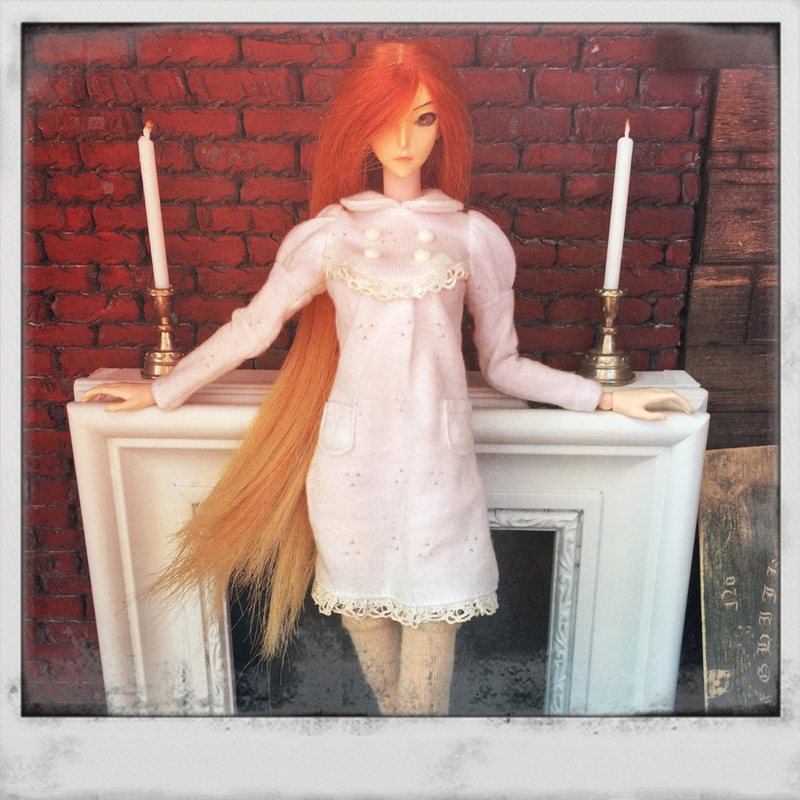
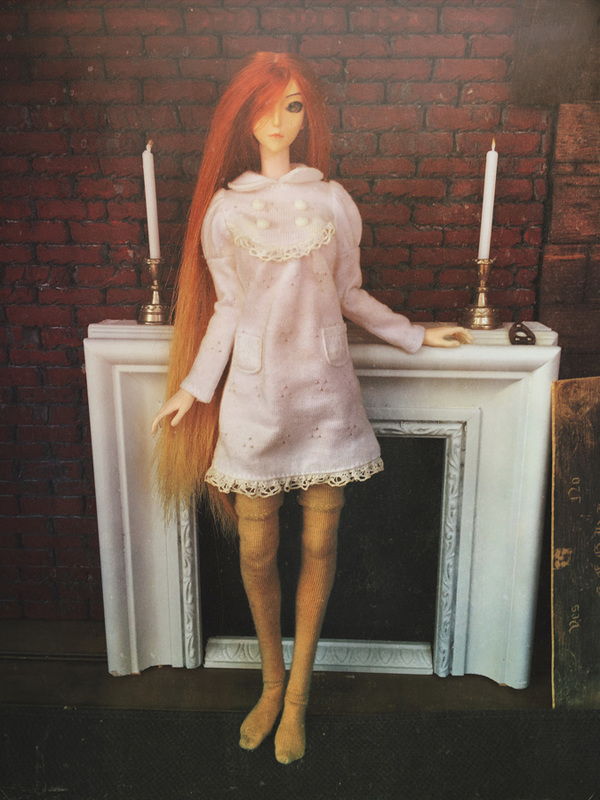
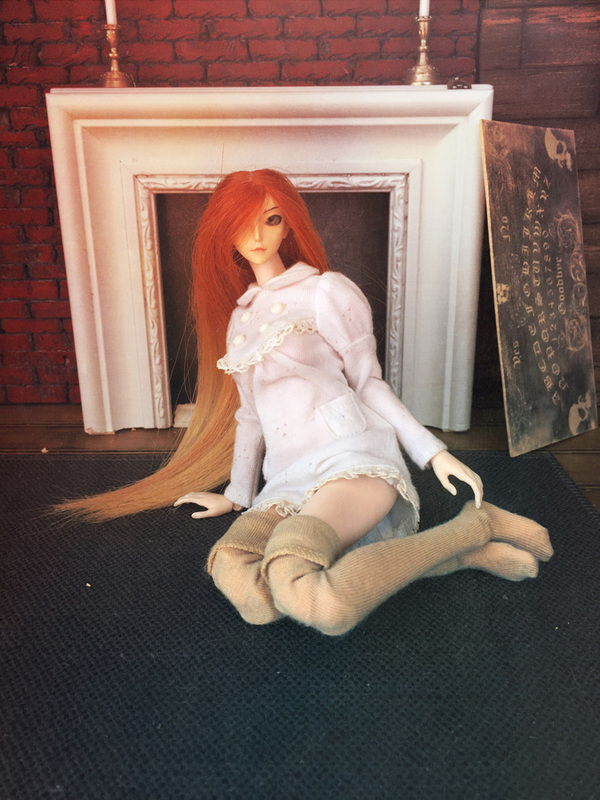
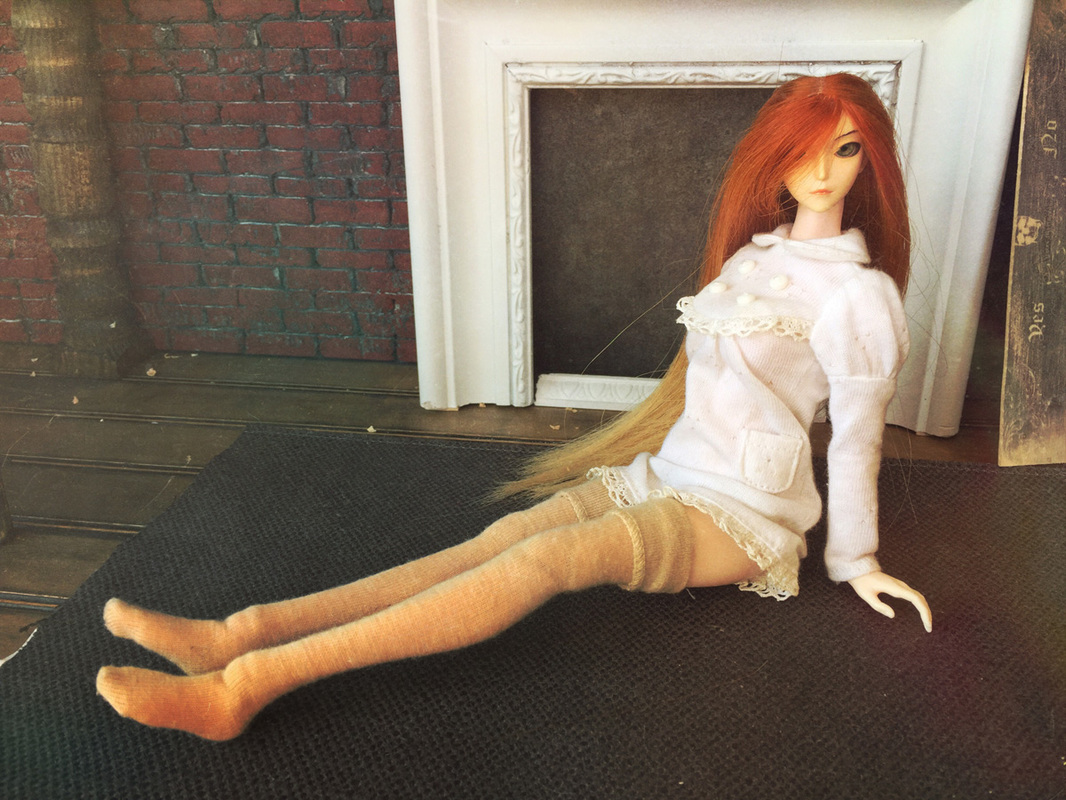
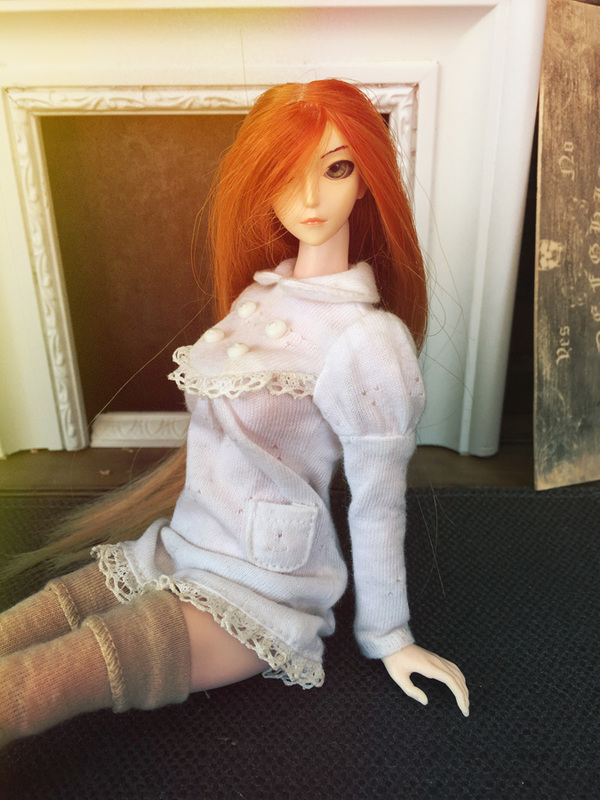
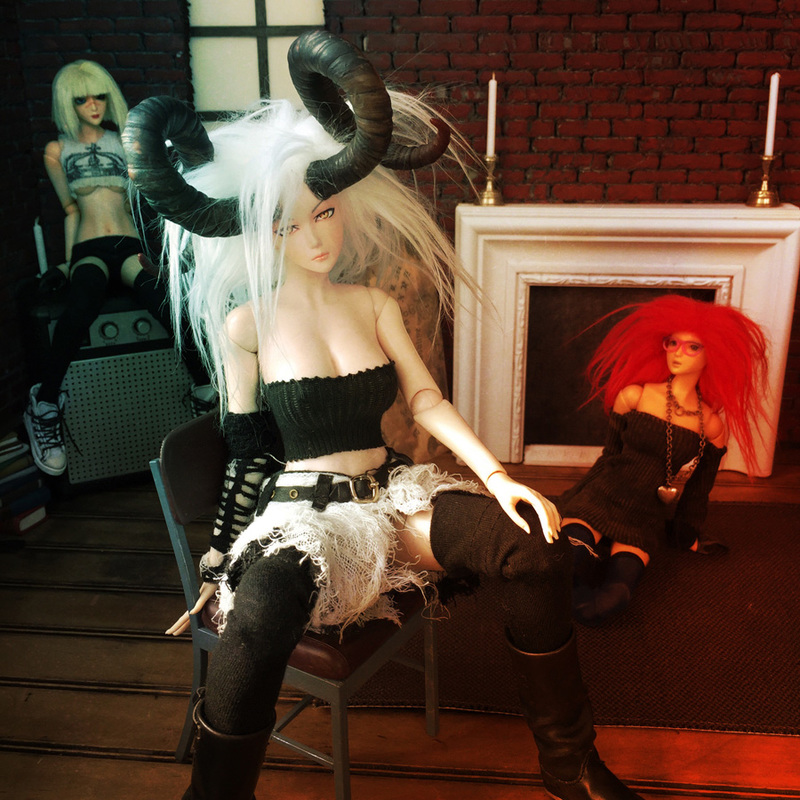
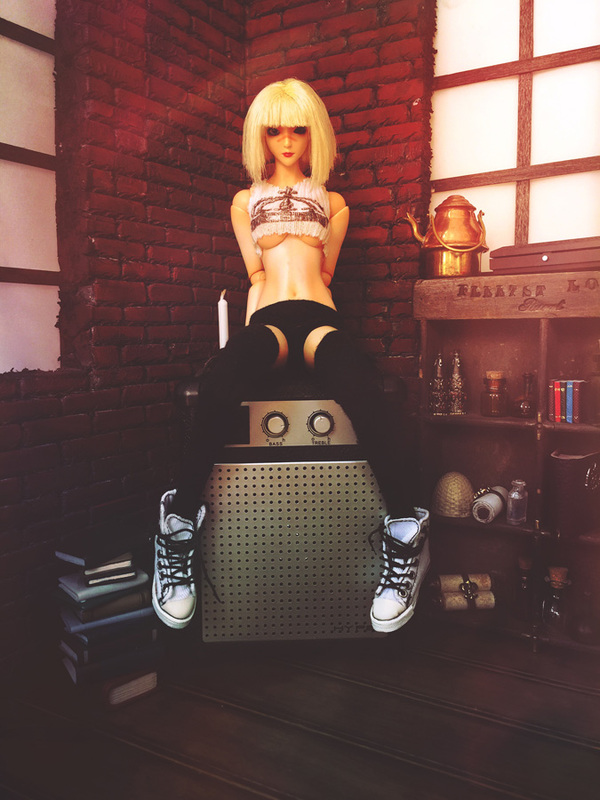
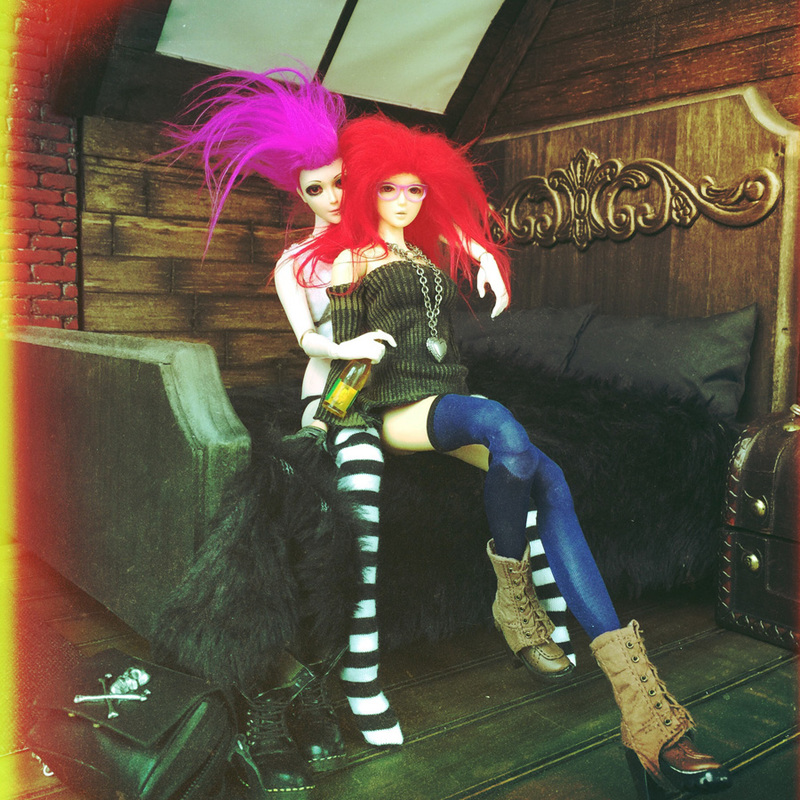
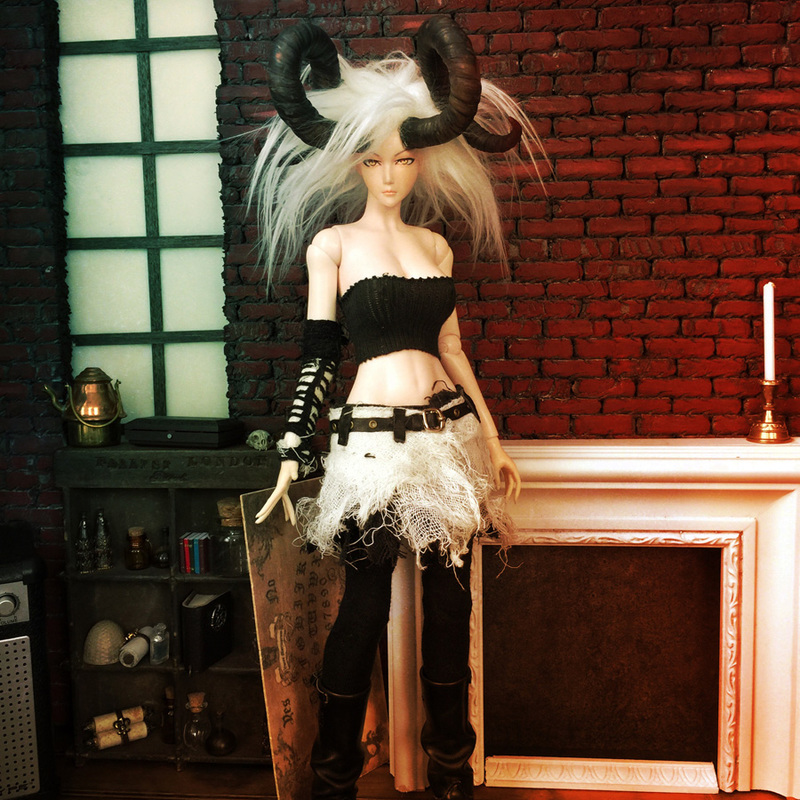
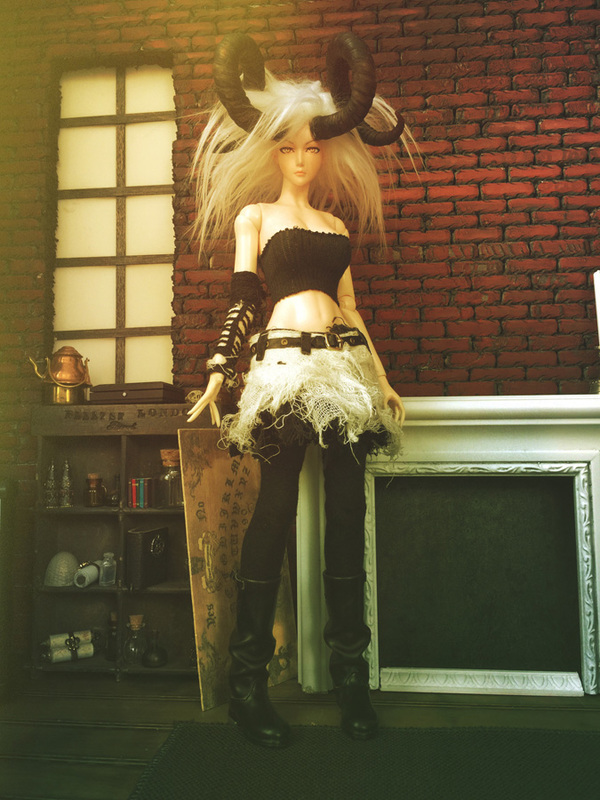
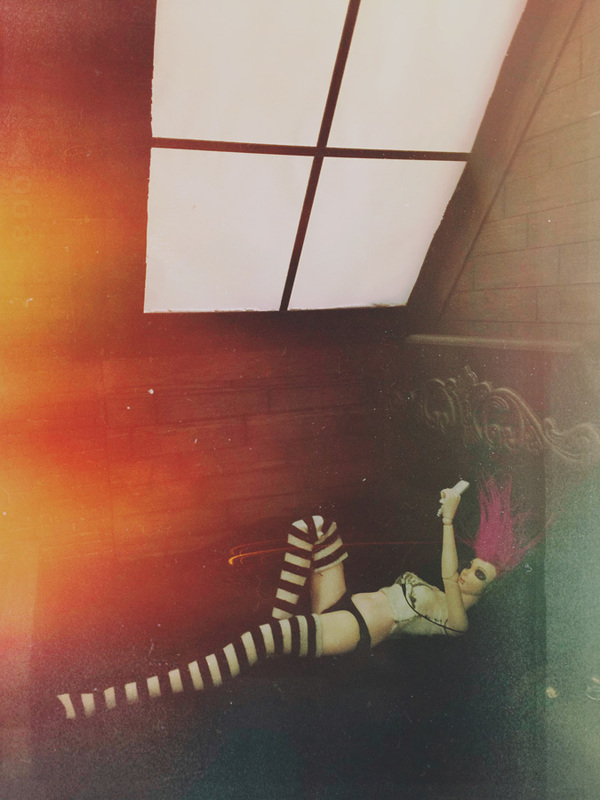
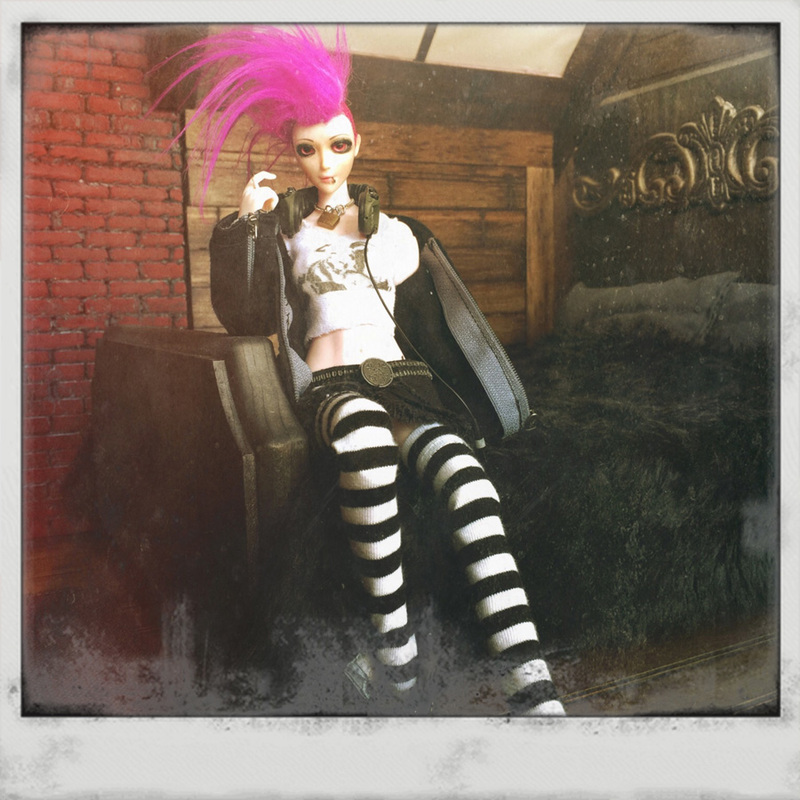
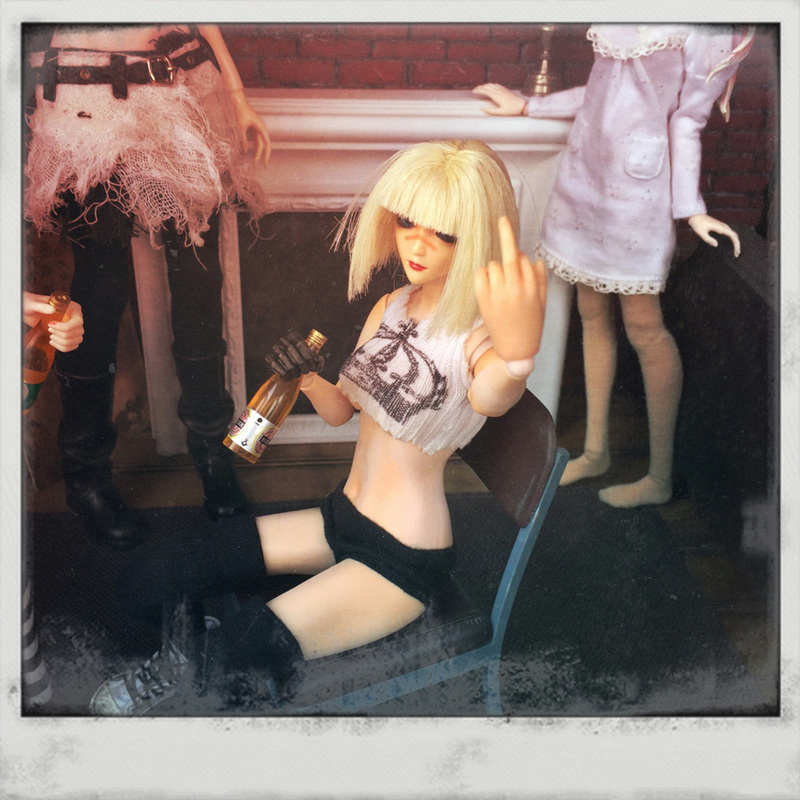
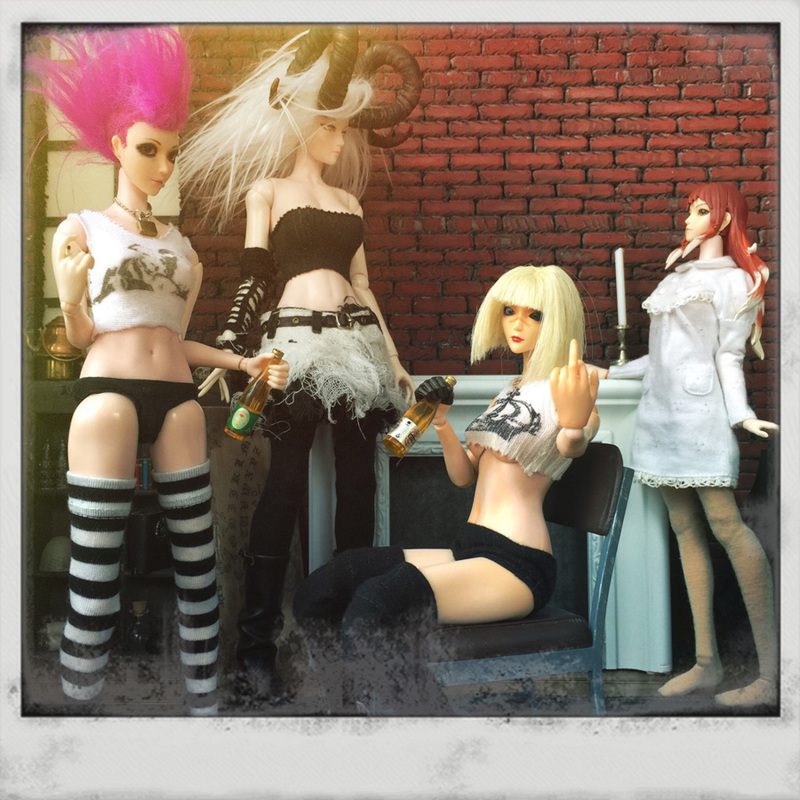
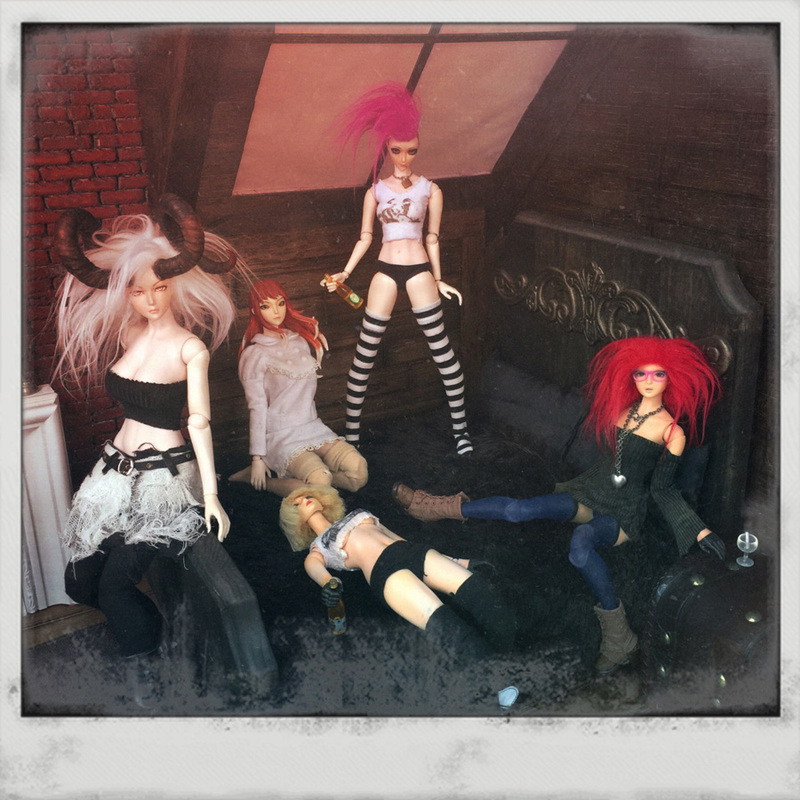
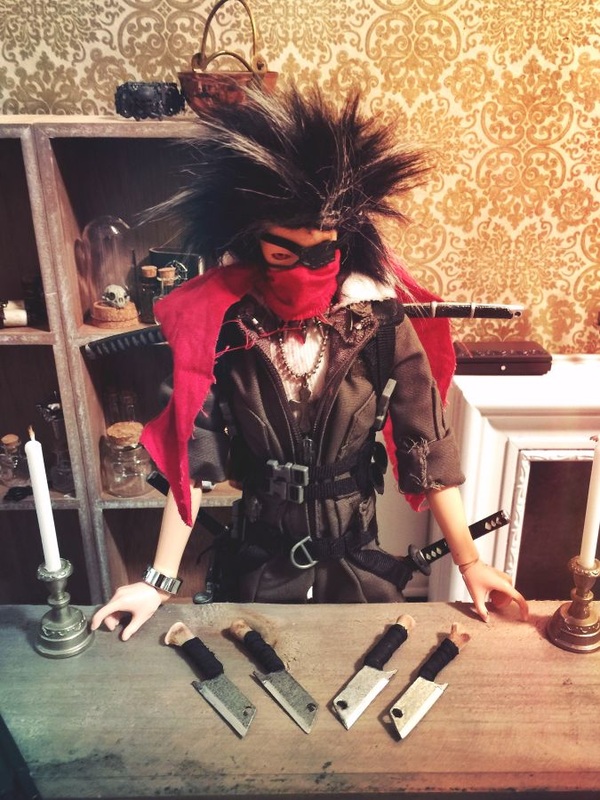
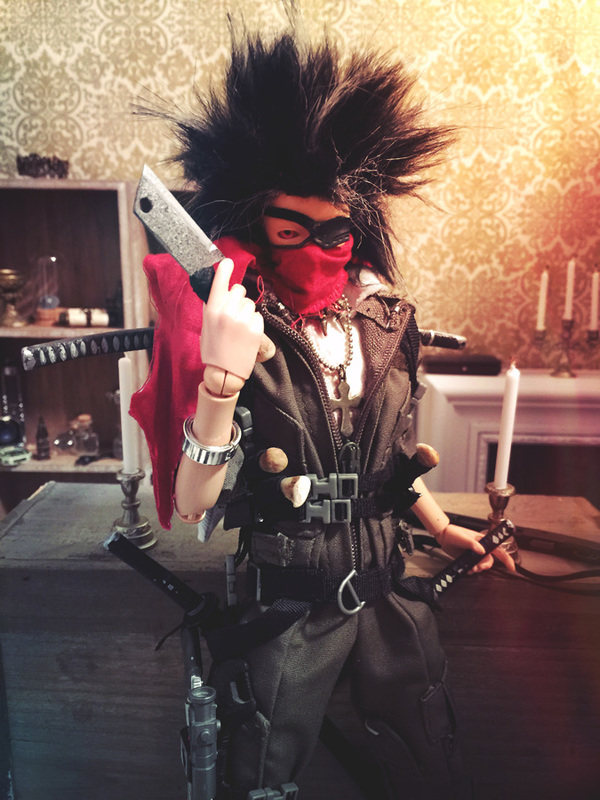
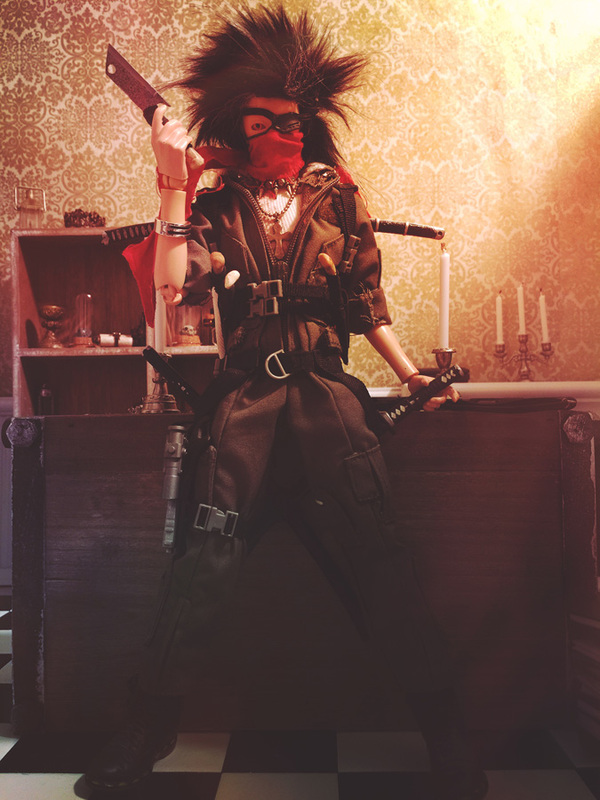
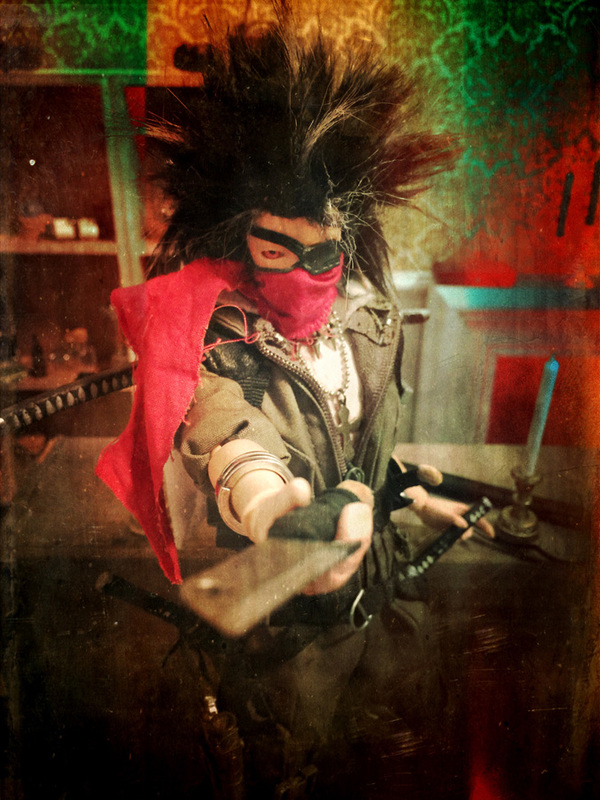
​Meet the apocalypse girl.  I've had the idea for a while that I wanted to do a post apocalyptic figure, with a skull face paint look.  I wanted to go for something a bit less stylized, and more realistic than the House of Seasons figures.  I did the make up entirely with Doc Brien's Weathering Powders, and a light coat of Dullcote at the end (Which I swear is made of magic).  I REALLY like how it came out.   Off to a good start.
0 Comments

Apocalypse RV - Rooftop Garden work in progress

8/22/2016

0 Comments

 
Picture
​I made a little progress on my post apocalyptic RV.  I like the idea of a rooftop garden, some way to grow some of your own food while living on the go in the wastelands.  I also added a raised sniper tower, making this a little more of a compact roving survival fortress.  Very slowly, this thing is starting to take form.
0 Comments

Red Sonja WIP Part 1

8/16/2016

1 Comment

 
Picture
I've been saying forever that I've wanted to do a custom Red Sonja figure. She's always been a character I've loved, and since Dynamite Comics picked up the character, it's been an incredibly fun read.  The Gail Simone stuff in particular has just been top notch, and I think has just really defined the character.  When Phicen started doing the Steel Skeleton seamless bodies, I knew that it was going to be the way to go.

When Phicen announced that they would be doing a Red Sonja figure, I had really mixed feelings.  There was a lot that looked great in the promo pics, and a lot I kind of hated.  Once she got released, I started looking at finding the figure parted out, and planned to pick up just the stuff I wanted.  The boots, gloves, sword, and dagger looked great.  Phicen had developed a more muscular, toned body that they have yet to release as a blank by itself, so it was only available with a few boxed figures.  And after looking online for a bit, it looked cheaper to just pick up the full boxed figure and throw out whatever I didn't want, than to buy the pieces I wanted separately.

Once it arrived, I was glad I did.  I didn't like the head at all in any of the the pictures I saw, and had every intention of swapping it out when I got it. The face looked kind of just... I don't know, just not right? And the hair looked brighter, cheap and plastic-y, and just a kind of uniform color, like a cheap wig.  I had planned to swap it out with a Scarlett Johansson head, because come on, how freaking great would she be in a Red Sonja movie?! 

But I was surprised how much I liked it when it came in. The hair is actually pretty nice, and I love the face. It isn't the what I was originally pictured for her, but I really loved it once I had it in hand.  I'm still tempted to pick up an alternate head, but also pretty content right now.

Everything else that I kind of hated from the promotional pics, I felt the same about once they arrived. The ax handle is too thick, and looks cheap, plastic-y, and toyish. It also looked like it was a bit warped, and when I tried to bend the handle a bit, it just immediately snapped.  I don't really like the shield, and I can't picture Sonja ever using a tower shield. The cloak looks like it's made of cheap materials (I think it might be the same material as the boots, but oddly looks way better on the boots). And I just hate the plastic chainmail armor. Hate it.  The shoulder armor isn't terrible itself, but why they made the straps out of molded silver plastic instead of leather is beyond me, and should be an easy fix by replacing them with actual straps.

So, 1st order of business was the chainmail armor.  I'd actually seen a number of other people do custom Red Sonja, or Red Sonja inspired figures use this metal mesh material, that's usually used for jewelry or purses.  I tracked down a small silver purse, and set to work chopping it up.  

I replaced all the chains on the original figure with leather straps.  I liked the look better, and thought it just it made more sense.  Or lets be honest, about as much sense as could be applied to a chainmail bikini.  I also wanted to do something to add a little complexity to the design, so added some extra design in around the waist with rings and string.
Picture
Picture
Picture
Picture
I put together a new set of straps out of leather and chain, since the original came with just a small little loop of silver chain to hold the sword to the belt, which is just terrible.  
Picture
The whole thing just looks so much better, and actually drapes and moves really well.  Still more lots more to do, so I hope to have more updates soon.
1 Comment

Return to the Wasteland

8/10/2016

0 Comments

 
Picture
​Some updates on my 1/18 scale Mad Max inspired post apocalyptic war rig.  It's slow going, just kind of adding details as ideas strike me.  But I was so excited by the Boss Fight Vitruvian Hacks Skeletons, I thought one would look great crucified on the front of my wasteland Raiders war rig.
Picture
I also added some metal grip plating to the sides.  It comes in white plastic sheets, and is actually supposed to be for model trains.  But a little silver spray paint, a quick blackwash, and a little dirt and grime, and it looks LEGIT. 
0 Comments

1/6 Chinese Food Boxes

7/9/2016

0 Comments

 
Picture
So, I have a bad habit when it comes to projects. When I see somthing that looks great and seems clever, especially if it looks fairly easy to make, I have to make it. And it's rarely as easy as it looks. The spiral staircase for the loft started simply because the idea of using wooden fans to make the stairs just seemed like such a good idea, and looked so good, I had to do it. So that's how I ended up making Chinese food takeout containers.
Picture
​I ran into a the template for them online, already (supposedly) sized to 1/6 scale. But of course, I didn't want to just keep the generic graphic. Fat Dragon Chinese Takeout is Violet Rose's favorite local delivery spot, so I spent an hour or 2 designing their logo. I printed out a test page, and realized that the site that posted the template was WAY off, and it was huge for 1/6 scale. It took a bunch of trial & error before I got something that really looked the right size. Also, once I had a bunch of these, I realized cutting, folding, glueing, and adding the little metal handle was not really a quick project.

But totally worth it! I decided to throw together a quick photo shoot of Violet Rose eating takeout. Once I finish the whole loft, I plan to do 1 big photo shoot, and these will definitely be some great props to have on hand.
0 Comments

Loft Work in Progress 2

6/25/2016

0 Comments

 
​A lot has changed since the last loft update.  I had found these amazing pics online of someone who had used the pieces of a wooden fan to make a spiral staircase, and immediately ordered a pack of fans on Amazon.  Of course the loft needed an old iron spiral staircase!  
Picture
Once I had it built, it had to lead somewhere.  Since it was so big and open, with such high ceilings, I decided it would make sense for there to be an upper sleeping area. 
Picture
Picture
But the new upper area was much too small for the previous bed I had built.  So I made a new, smaller one, that seems an even better fit for the loft asthetic.  
Picture
A little while later, I decided the area under the upper sleeping area would make a perfect kitchen.  I built the sink area out of balsa wood,  and a plastic blister pack some screws came in.  The faucet is just some plastic toy bits and pieces cut and glued together, and painted silver.  For the record, I swear by the Valspar silver spray paint as the best, most realistic metallic I've ever used.
Picture
I also added lights, both to the high ceiling, and in the kitchen.  1st round was just some globe style string lights.
Picture
I also had some great finds online.  I found an amazing miniature cast iron stove, a salesman sample, that is a perfect 1/6 scale. The couch is from etsy seller MiniPlacesStudio.  Check out their page, as they do some amazing work.
Picture
Picture
About a week later, I found these amazing industrial looking enclosures, also on string lights.  I couldn't wait to get them home and get them installed.
Picture
Picture
Picture
Overall, I'm feeling really good about how this has been coming together.  I still have 1 more brick wall segment with windows to finish.  and there's always a bunch of detail work I'll be adding.  But feeling pretty close to done, and ready for a new photoshoot.
Picture
0 Comments

Alice of Autumn WIP ( Now with Real Hair)

5/24/2016

0 Comments

 
Picture
​Alice's is the second head I've added hair to.  I took what I learned from Krysa, and this time used high end real human hair instead of the synthetic stuff I worked with previously.  And the difference is amazing.  It is way easier to style and work with, and is just a huge difference in quality.  And it's such an improvement over the previous plastic hair that I was never satisfied with, especially the paint job.  
0 Comments

Loft Work in Progress. Housewarming Party

5/10/2016

0 Comments

 
Picture
Too long since my last update!

​So, it started with the brick wall I showed a few months back.  I added some windows and the flooring before the Christmas photoshoot.  While I had planned the for it to be a modular background, that I could use for a variety of settings, in some senses, it was always going to be Violet Rose's industrial loft apartment.  But I think it just continues to evolve as I get ideas for new structural elements I want to build.  Somewhere along the way, I wanted to make a giant skylight, and replaced 1/3 of the back wall.  Since everything was coming together so nicely, I thought a quick photoshoot was in order.  By the time I got this post together, I've added a ton more, so look for more updates soon!
As a bonus, I've added a gallery of polaroid versions of most of the pics.  Something about the cropping and the extra border really adds to the realism of the pictures.  I've also been considering printing the polaroid set at 1/6 scale, and making them into little polaroid props.  Might be fun!
0 Comments

Koda's Knives

3/14/2016

0 Comments

 
Picture
​Just some close up shots of Koda's knives. The blades were made of plastic from old cd cases, cut and beveled. The handles are chicken bone, wrapped in leather. Pretty excited how they turned out. ​
Picture
This is actually the 3rd set I've made, as Gideon keeps eating the chicken bone handles whenever I leave the figure for a moment anywhere he can reach him.  
Picture
Actual photo of Gideon Strangeways, thinking about eating chicken bones (probably).
0 Comments

Koda 2.0

3/6/2016

0 Comments

 
Picture
I've been thinking of re-doing Koda for a long time now.  I originally made the figure while coming up with the idea for his character, and the more I solidified his story, the less a lot of my original design choices worked.  

Koda is a living weapon, a secret assassin for one of the royal houses.  He's made from forbidden magiks, a chimera of monsters in the body of a man. Raised and trained in captivity, he exists only to be used, and has never been treated as anything but an experiment and tool.  

So I needed a look that felt more functional and utilitarian, less obviously street stylish.  
Picture
Picture
Koda also needed an upgrade in footwear.  I've been trying to use better quality pieces in all of by builds, and Koda was still wearing a pair of old 21st century toy boots from 10 years or so ago, that were just solid chunks of molded rubber.  I ordered a pair of Play Toys combat boots, without even thinking, and was so disappointed when they arrived as solid plastic boot feet, instead of actual hollow boots.

I kept staring at them all day, trying to think of how I was going to make them work anyway.  Finally, I ended up ripping the soles off, and the inner plastic foot was fairly easy to peel out of the faux-leather outer shell.  I carefully resealed the edges back to the sole, and now have a perfect pair of boots.
Picture
Also finished this yet-to-be-named cursed sword.  Previously wielded by some long dead god, the blade is caked with dried gods' blood, and covered in seals and wards.  Pure nastiness.
Picture
Picture
Picture
Still a ways to go.  Koda needs more accessories, more details, and a bunch of tattoos.  But I think he's a lot closer to how he should look.  
0 Comments
<<Previous

    Reverend Spooky

    Reverend Spooky makes things.

    Archives

    July 2022
    June 2022
    May 2022
    April 2022
    November 2021
    April 2021
    March 2021
    December 2020
    November 2020
    August 2020
    June 2020
    May 2020
    April 2020
    February 2020
    September 2019
    July 2019
    June 2019
    February 2019
    December 2018
    November 2018
    October 2018
    September 2018
    May 2018
    April 2018
    March 2018
    February 2018
    January 2018
    December 2017
    October 2017
    September 2017
    August 2017
    July 2017
    June 2017
    December 2016
    October 2016
    September 2016
    August 2016
    July 2016
    June 2016
    May 2016
    March 2016
    February 2016
    January 2016
    December 2015
    October 2015
    September 2015
    July 2015
    June 2015
    May 2015
    April 2015
    March 2015

    Categories

    All
    Bits & Parts
    Kitbash Fun
    News & Announcements
    Not Quite Reviews
    Other People's Customs
    Work In Progress

    RSS Feed

Proudly powered by Weebly